Tip: Remember to bring another form of payment in case the store where you’re shopping isn’t set up for Apple Pay or their reader is down.
As consumers continue to move from cash to contactless payment methods, Apple Pay is now the preferred option for many iPhone users. It offers a fast, easy, and secure way to pay in-store or online.
Using contactless technology, Apple Pay lets you tap to pay at checkout. Also, within your Apple Wallet, Apple Cash allows you to transfer money to friends and family through a text message.
In this guide, we’ll cover how to use Apple Pay on your devices, why it’s often safer than traditional payment methods, and potential risks to be aware of.
What do I need to use Apple Pay?
You need a compatible Apple device, such as an iPhone or Apple Watch, to use Apple Pay.
You’ll also need:
- A debt or credit card from a participating bank (e.g., Bank of America, Chase, or another supported provider).
- An Apple account that you’re signed into.
- Up-to-date software, such as the current version of iOS, iPadOS, watchOS, or macOS.
- A verification method like Face ID, Touch ID, or a passcode.
How to set up Apple Pay
Follow the steps below to set up Apple Pay on an iPhone or iPad, an Apple Watch, or a Mac, in minutes.
Add a card to your iPhone or iPad
To start using Apple Pay, open the Wallet app on your iPhone and sign in with your Apple ID. Follow these steps to connect your credit or debit card:
- Tap the plus sign in the top right corner of the Wallet app.
- Tap Debit or Credit Card and then Continue.
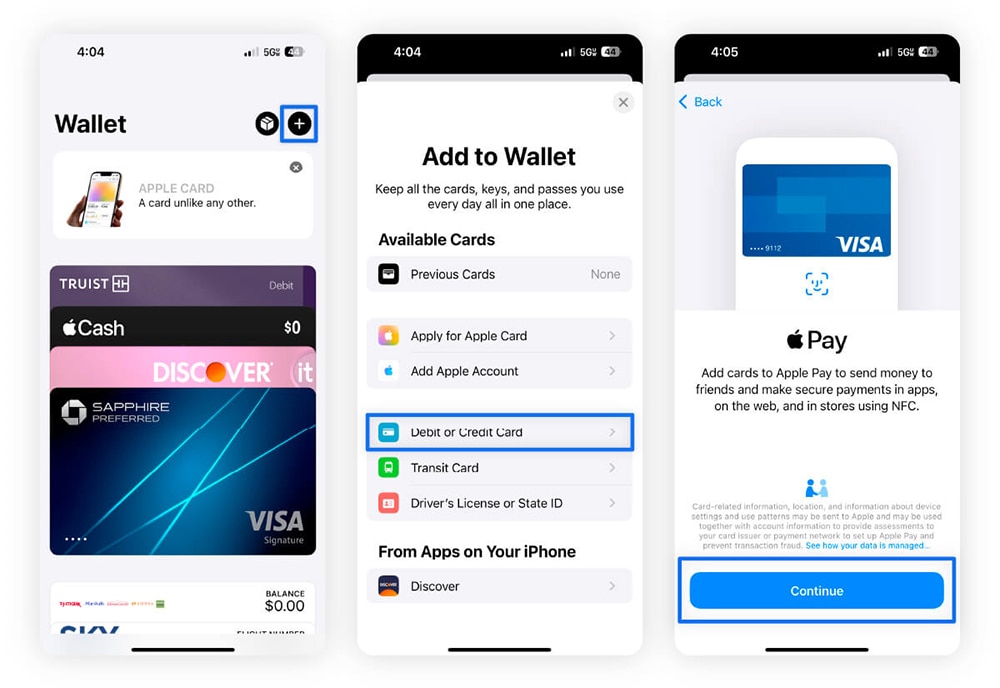

3. If you’re using iOS 18 or newer, hold your iPhone near the chip of the card to automatically capture the details. If your card doesn’t have a chip or you’re using an older iOS version, you can choose to Enter Card Details Manually or Scan Card with Camera.
4. From there, you will be taken to the Card Details window, where you can manually input your card’s expiration date and CVV number if needed.
5. Follow the on-screen instructions to verify your card.
When you’re done, Apple sends your card details to the issuer for approval and adds the card to your digital wallet. If you add multiple cards, remember to set the one you use most as your default card.
Add a card to your Apple Watch
After you add a card to your wallet on your iPhone, you’ll see a screen that says Add to Apple Watch. To complete this process, turn on your Bluetooth and tap Add Now. You can also add a card to your Apple Watch later using one of the options listed below.
Before you begin, make sure your Apple Watch has a passcode set up. This is required to use Apple Pay for security purposes.
Here’s how to add a card to the digital wallet on your Apple Watch using your iPhone:
- Go to the Watch app.
- Tap My Watch, then Wallet & Apple Pay.
- Tap Add card and then Debit or Credit Card. (Note: You’ll be prompted for your Apple Watch passcode to complete this step.)
- Tap Continue, then hold your iPhone near your card’s chip or enter the card details manually.
Alternatively, you can add a card to the Apple Wallet using your Apple Watch:
- Press the side button to open the menu, then scroll down and tap Wallet.
- Tap the three dots in the top left corner, then select Add Card. (Note: Your Apple Watch may prompt you to enter your Apple ID password.)
- Tap Debit or Credit Card, then Continue.
- Enter your card details.
Once the card is added, you can set it as the default card or select Not Now. You’ll see the new card appear in the Wallet app on your Apple Watch and listed under Payment cards in the Watch app on your iPhone.
Add a card to your Mac
You can also set up Apple Pay on iMacs and MacBooks. Here’s how:
- Open the Apple Menu in the top left corner, then click System Settings.
- Scroll down and click Wallet & Apple Pay in the sidebar, then click Add Card.
- Add card details, including your full name, the card number, and the CVV.
How to use Apple Pay at a store
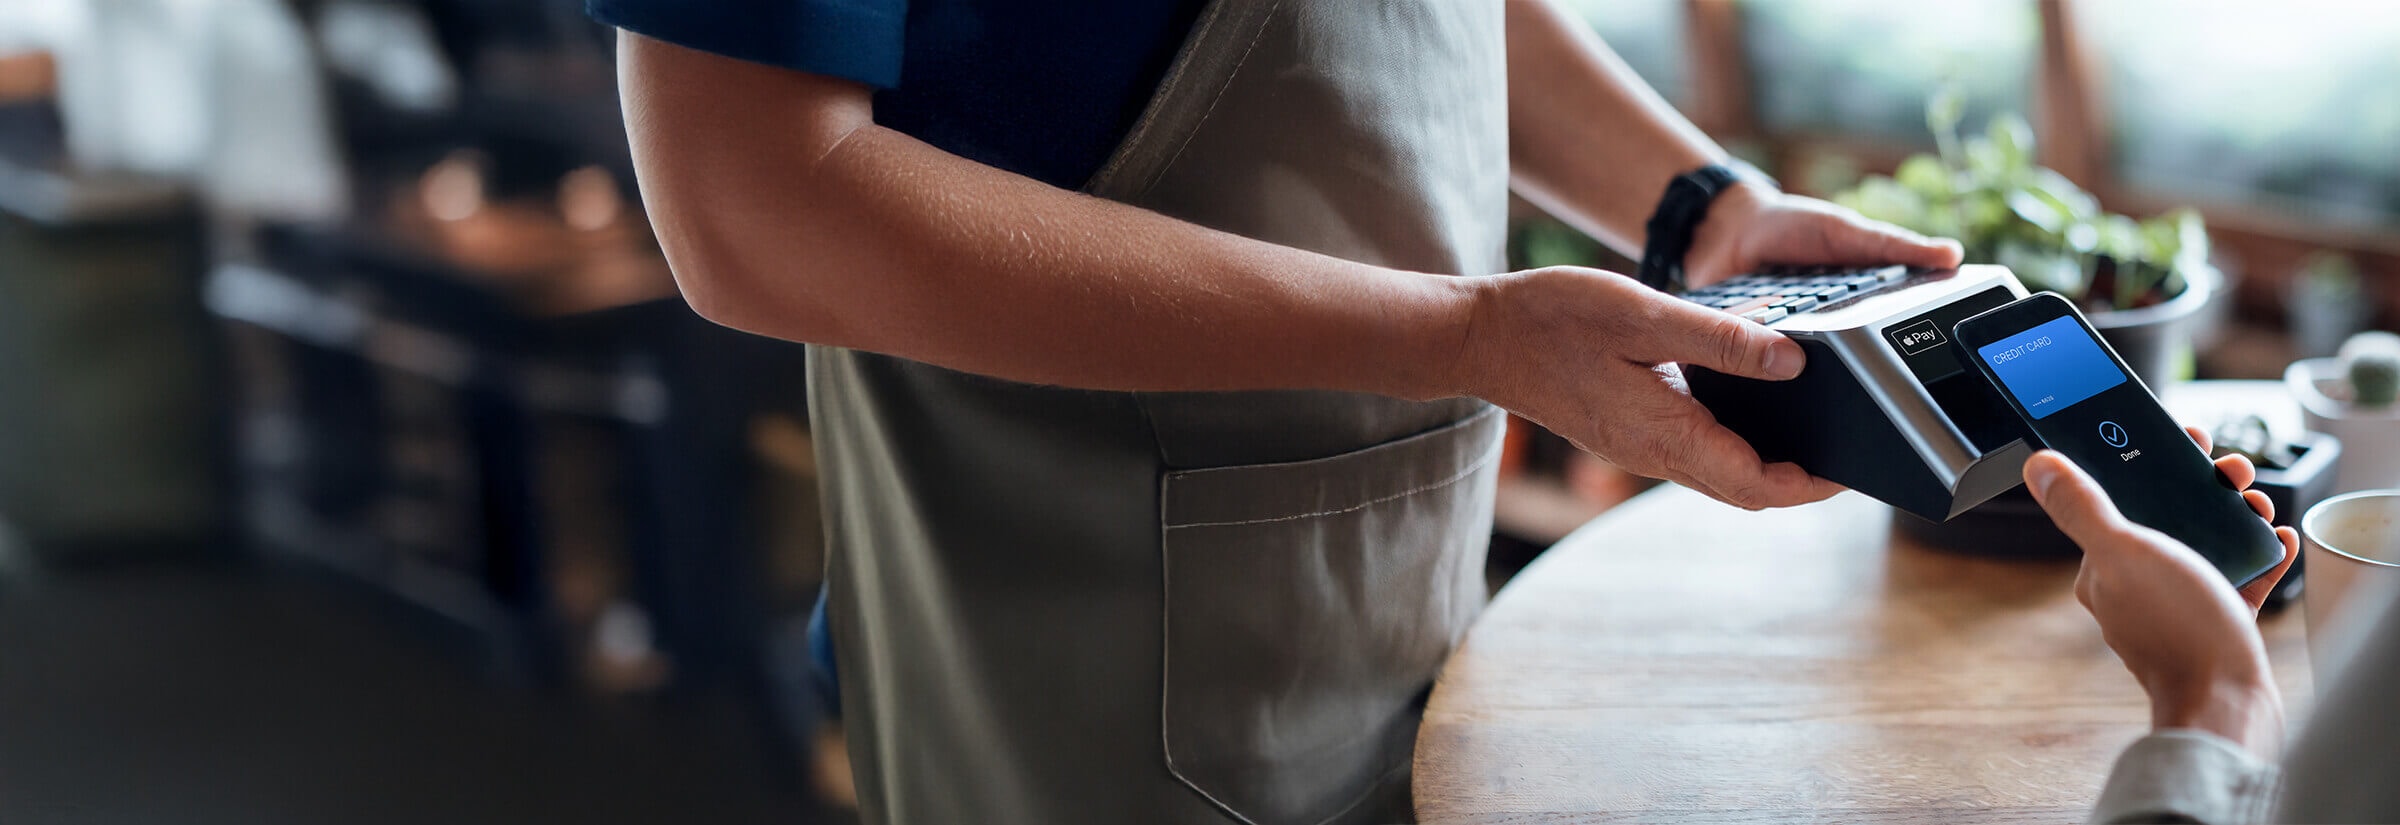
You can use Apple Pay to make contactless payments at participating brick-and-mortar stores.
With an iPhone or iPad
When you’re out and about, it’s often easier to pay with your iPhone or iPad, since you probably have your phone close by at any time.
To make payments at a store using Apple Pay with your iPhone or iPad, follow these steps:
- Activate Apple Pay. If you have Face ID, double-click the side button and glance at your phone to authenticate (or enter your passcode). If you have Touch ID, double-click the home button.
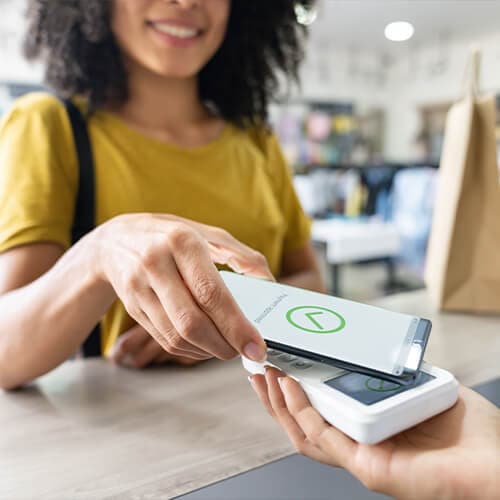
- Hold your device to the contactless reader.
- Wait for confirmation that the payment was successful — you’ll feel a vibration, hear a beep, and see a checkmark on your screen.

With an Apple Watch
Apple Watches are popular for on-the-go transactions, since many users wear them daily.
If you’re using your Apple Watch to pay, follow these steps:
- Double-click the side button on the right side of your Watch.
- Hold your Watch display up to the contactless reader.
- Wait for a vibration, beep, and checkmark to confirm the payment was successful.
How to use Apple Pay in apps and online
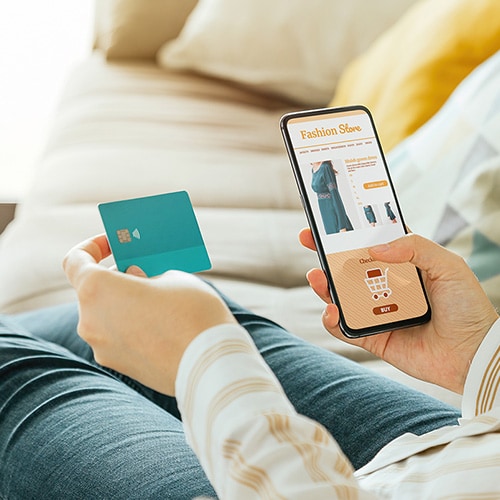
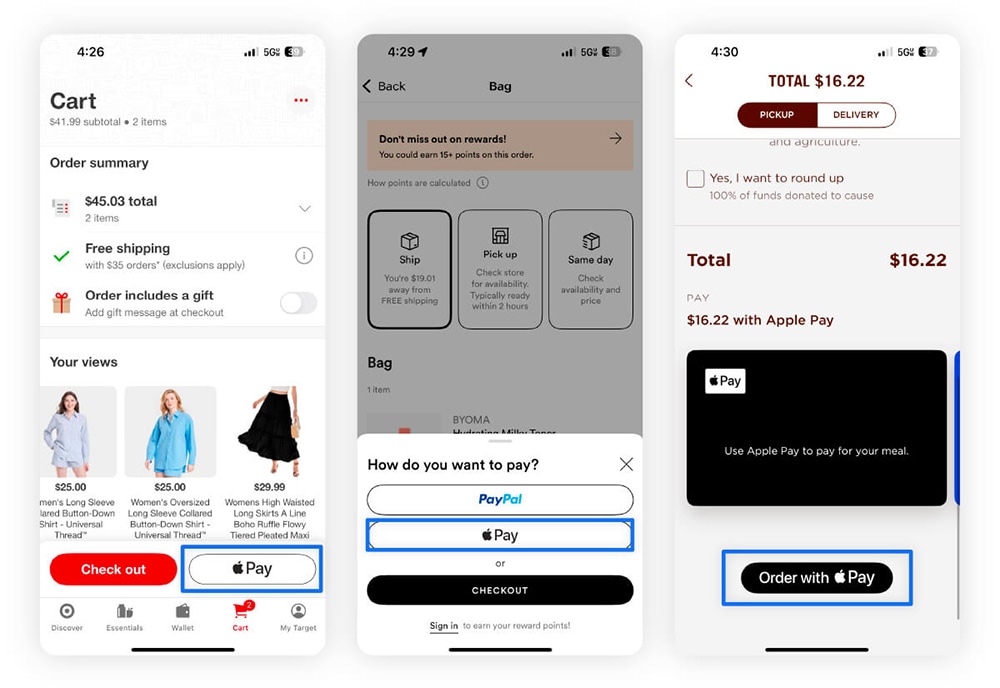
You can also use Apple Pay for any online transactions where you see the Apple Pay option or in apps you download from the App Store.
Here’s how to use it:
- Choose the Apple Pay button.
- Enter your delivery details, then choose a shipping method.
- Authenticate the payment using Face ID, Touch ID, Optic ID, or your passcode.

How to change the default card on Apple Pay
Apple Wallet always defaults to a single card. If you have more than one and want to switch it, follow these steps:
- iPhone: Open the Wallet app > Press the card you want to set as your default > Drag it in front of the other cards.
- Apple Watch: On your iPhone, open the Apple Watch app > Under My Watch, tap Wallet & Apple Pay > Under Transaction Defaults, tap Default Card > Choose your new default card.
- iPad or Vision Pro: Open Settings > Wallet & Apple Pay > scroll down to Transaction Defaults and tap Default Card > choose a card.
- Mac: Open System Settings > Wallet & Apple Pay > choose a card.
How to pay with a different card
If you’re out and about and decide you want to use a different card besides your default one, follow these steps on your iPhone:
- Double-click the side button (Face ID) or home button (Touch ID) to open Apple Wallet.
- Tap your default card to see the list of cards saved in your digital wallet.
- Select the card you want.
- Finally, use Face ID, Touch ID, Optic ID, or your passcode to verify your identity and make the payment.
How to send and receive Apple Cash on iPhone
Apple Cash is for exchanging money with people you know, rather than paying a business. It works similarly to mobile payment services like CashApp, Venmo, and Zelle. You can only use it if the sender and receiver have an Apple device.
Using the Messages app
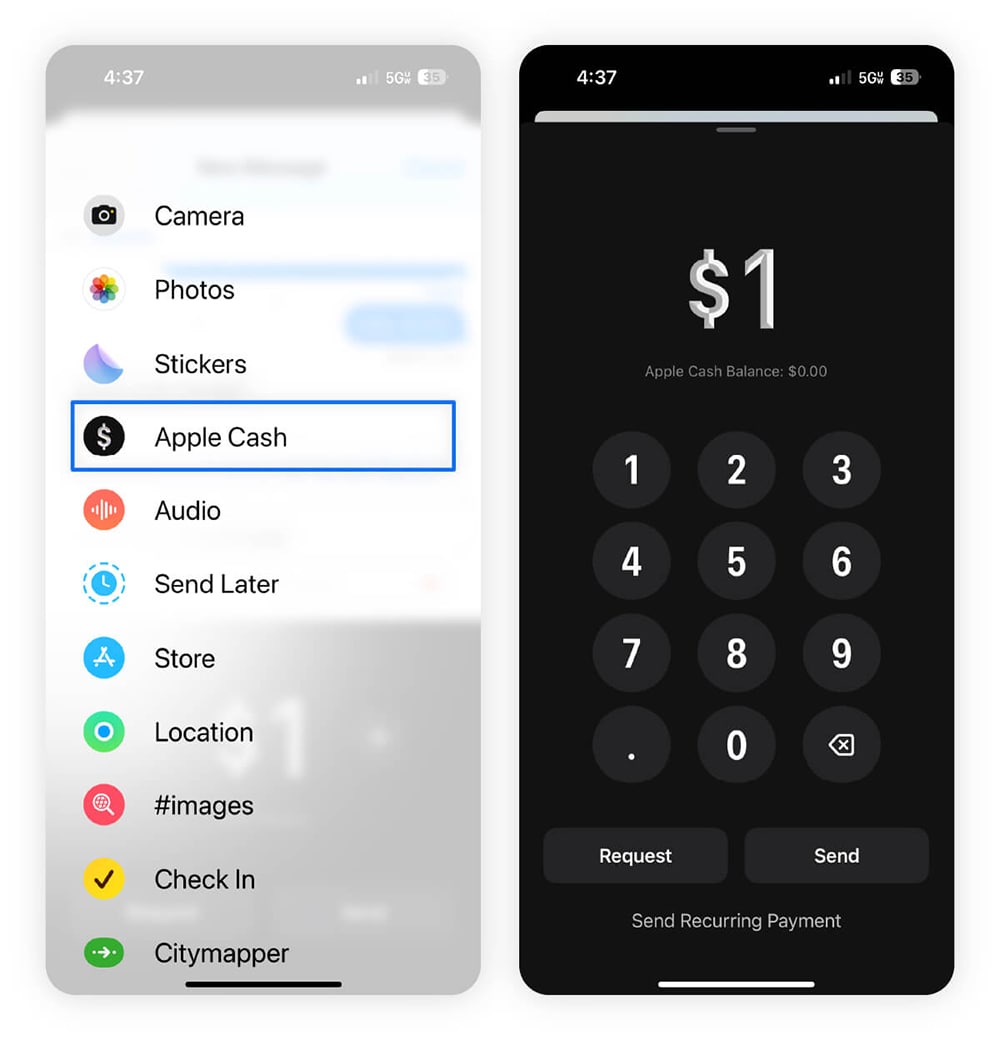
Here’s how to exchange money with Apple Cash on an iPhone via the Messages app:
- Open the Messages app and choose a conversation or start a new one.
- Tap the plus (+) icon in the bottom left corner, then select Apple Cash.
- Tap + / – to choose a dollar amount or Show Keypad to enter the amount.
- Choose whether you want to Request or Send the amount.

5. Double-click the side button.
6. Use Face ID, Touch ID, or enter your passcode to approve the transaction.
If you don’t see Apple Cash as an option in Messages, go to Settings, tap Wallet & Apple Pay, and check if Apple Cash is toggled on.
Using your Apple Wallet
Alternatively, you can exchange money with Apple Cash on an iPhone via your Apple Wallet:
- Open the Wallet app and tap the Apple Cash card.
- Tap Send or Request, type in your contact’s name, and then tap Next.
- Enter the amount and choose whether you want to Request or Send the amount.
- Double-click the side button.
- Use Face ID or Touch ID or enter your passcode to approve the transaction.
Using Tap to Cash
You can also use the Tap to Cash feature to send or receive Apple Cash without sharing phone numbers. This works by bringing two iPhones or Apple Watches close together.
Here’s how on an iPhone:
- Open the Wallet app, select your Apple Cash card, then tap Send or Request.
- Choose Tap to Cash.
- Enter the amount, label the payment, and tap Next.
- Double-click the side button.
- Hold the top of your iPhone near the other iPhone.
- You’ll feel a vibration when the transfer is done.
How does Apple Pay work?
Apple Pay is a free, contactless payment service for Apple users that lets you make purchases in stores, online, and in apps. Apple Pay can work a bit differently depending on the device and type of transaction, but the process usually works like this:
- Add your card(s) to your Apple Wallet and set a default.
- Make transactions in-store or online by activating Apple Pay or selecting it at checkout.
When you add a card to Apple Pay, a new Device Account Number is generated, so your card details are never stored on your device or Apple servers.
What is the difference between Apple Pay and Apple Wallet?
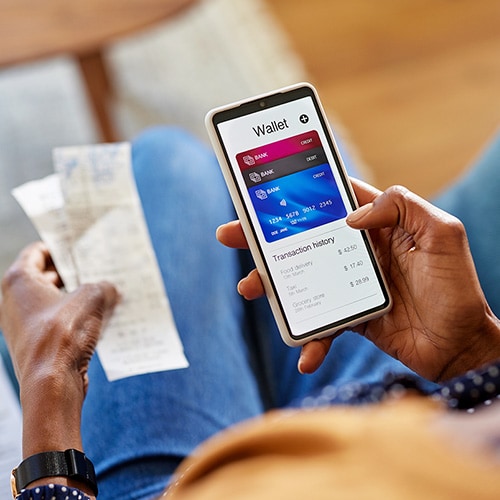
Apple Pay is a mobile payment service that enables secure contactless payments using the cards you save in your Apple Wallet. Think of it as a digital version of your actual wallet, which stores your cards and other important items such as event tickets, boarding passes, and more.
What is the difference between Apple Pay and Apple Cash?
Apple Cash is part of the Apple Pay ecosystem but works more like a digital prepaid card. It allows you to send, receive, and store money virtually. You can top up your Apple Cash balance by connecting a debit card. Apple Cash lets you easily transfer money to pay a babysitter, split a restaurant bill, or cover other person-to-person expenses.
Apple Pay is a mobile payment service that lets you make contactless payments in stores or online using cards stored in your Apple Wallet.
Where can I use Apple Pay?
You can use Apple Pay at a variety of places, including stores, restaurants, healthcare facilities, grocery stores, gas stations, and more. Ultimately, it depends on whether their payment system supports Apple Pay or contactless payments.
Here are some popular retailers that accept Apple Pay:
- Retail stores: Adidas, Best Buy, Macy’s, Nike, Sephora, Ulta Beauty.
- Restaurants: Chipotle, Panera Bread, McDonald’s, Dunkin’.
- Grocery stores: ALDI, Costco, Trader Joe’s, Whole Foods Market.
- Travel: Airbnb, Booking.com, Expedia, Marriott, United Airlines.
- Gas stations: BP, Chevron, ExxonMobil, Shell, Sheetz, 7-Eleven.
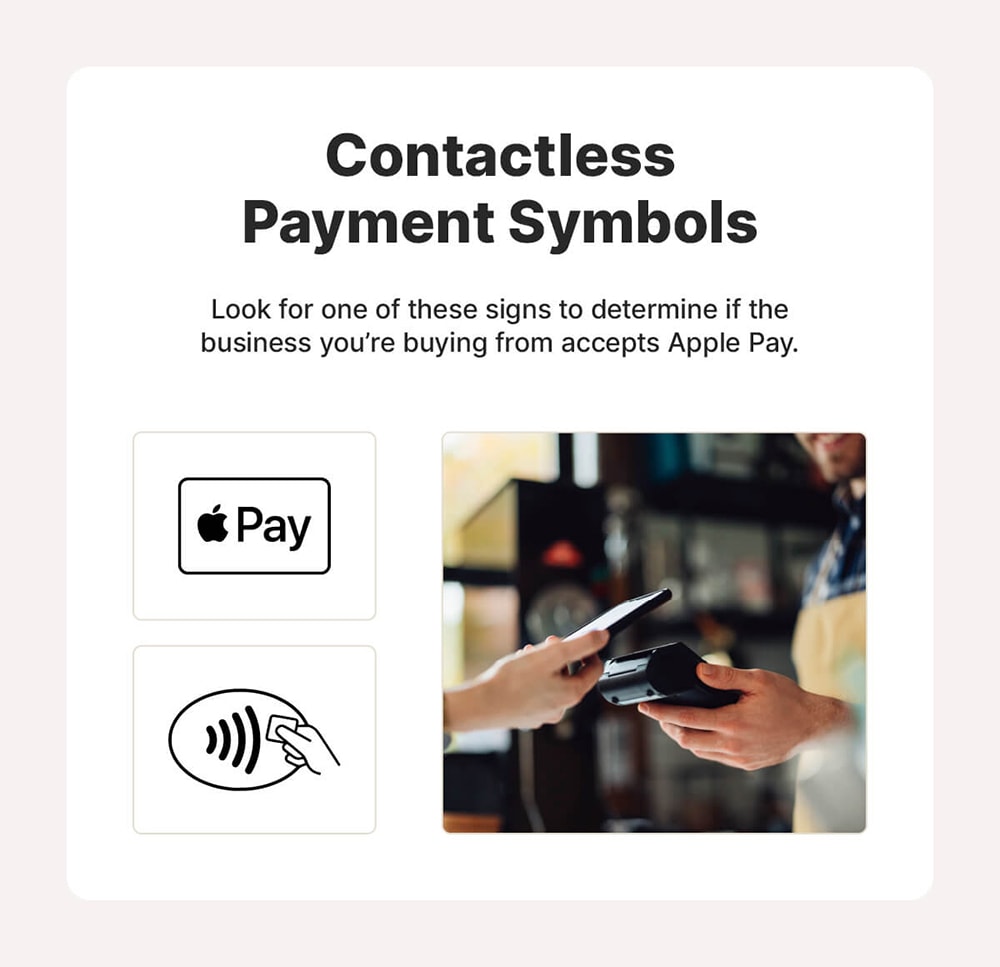
And that’s just a shortlist. According to Apple, over 85% of U.S. retailers accept Apple Pay. If you’re unsure if a business accepts contactless payments, look for a sign that says “Apple Pay” (this might include the Apple logo) or symbols for contactless payments like a Wi-Fi symbol with a card or a hand.
Is it safe to use Apple Pay?
Apple Pay is generally considered a secure way to make payments. Here’s how Apple Inc. protects your personal information:
- Unique transaction codes: Your original card details are never stored on your device or Apple’s servers.
- Card number privacy: Merchants can’t see your card number during or after transactions.
- Transaction confidentiality: Apple doesn’t store transaction details that can be linked to you.
- Contactless system: Users can pay without using card terminals or exchanging cash, which helps protect them from credit card fraud and skimming.
However, there’s only so much Apple can do to protect its customers completely. Device owners also need to go the extra mile to keep their digital wallets safe. Here are some additional steps to take:
- Keep your device updated: Software updates help protect against security vulnerabilities.
- Watch out for fraudsters: Cybercriminals use various Apple Pay scams to gain access to your account and steal funds.
- Consider ID theft protection: Compromised devices or data breaches could expose your financial information. Services like LifeLock help monitor the dark web for your information and notify you if we find it. This lets you secure any potentially impacted accounts.
Protect your valuable personal information
While contactless payments are convenient, they still carry risks — no system is infallible. LifeLock helps reduce the risk of financial fraud by monitoring your personal information, such as your Social Security number, and notifying you if potentially fraudulent activity is detected in applications for new credit cards or other financial services.
FAQs
Why isn’t my Apple Pay working?
Your Apple Pay might stop working for various reasons, such as connection issues, outdated software, issues with your card, or an incompatible payment system.
Does Apple Pay have fees?
No, you don’t have to pay any fees or interest to use Apple Pay. However, a small fee is applied to Apple Cash transfers in some instances, like when you choose the “Instant Transfer” option.
What is Apple Pay Later?
Apple Pay Later allowed you to buy something now and pay for it in four installments over six weeks with no interest or fees. Apple discontinued the feature in June 2024, although users with existing loans can still manage related payments.
How old do you have to be to use Apple Pay?
You must be at least 13 years old to use Apple Pay. If you’re younger, your Apple device won’t allow you to add a card to your Apple Wallet.
Does Apple Pay have a limit?
Yes, Apple Pay has transaction limits, which are typically set by your card issuer. There are also limits to adding money to your Apple Cash balance — participants in Apple Cash Family can have a balance of up to $4,000, while verified users can have up to $20,000. You can add a minimum of $10 per transaction and a maximum of $10,000.
Apple Pay, Apple Cash, and Apple Wallet are trademarks of Apple, Inc.
Editor’s note: Our articles provide educational information. LifeLock offerings may not cover or protect against every type of crime, fraud, or threat we write about.
This article contains
- What do I need to use Apple Pay?
- How to set up Apple Pay
- How to use Apple Pay at a store
- How to use Apple Pay in apps and online
- How to change the default card on Apple Pay
- How to send and receive Apple Cash on iPhone
- How does Apple Pay work?
- Where can I use Apple Pay?
- Is it safe to use Apple Pay?
- Protect your valuable personal information
- FAQs
Start your protection,
enroll in minutes.
LifeLock is part of Gen – a global company with a family of trusted brands.
Copyright © 2026 Gen Digital Inc. All rights reserved. Gen trademarks or registered trademarks are property of Gen Digital Inc. or its affiliates. Firefox is a trademark of Mozilla Foundation. Android, Google Chrome, Google Play and the Google Play logo are trademarks of Google, LLC. Mac, iPhone, iPad, Apple and the Apple logo are trademarks of Apple Inc., registered in the U.S. and other countries. App Store is a service mark of Apple Inc. Alexa and all related logos are trademarks of Amazon.com, Inc. or its affiliates. Microsoft and the Window logo are trademarks of Microsoft Corporation in the U.S. and other countries. The Android robot is reproduced or modified from work created and shared by Google and used according to terms described in the Creative Commons 3.0 Attribution License. Other names may be trademarks of their respective owners.
